It's easy to install 3rd party extensions (read: new awesome features & utilities) on to your Team Foundation Server (TFS) directly from https://marketplace.visualstudio.com. But with everything in the technology world, sometimes things go a little wonky and you need to skip the easy stuff and do things manually.
TL;DR: Open a browser. Go here. http://:8080/tfs/_gallery/manage
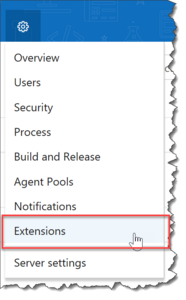
To start, go to the Settings menu (aka. the 'gear' icon) and choose Extensions.
You should now be on the Extensions admin page. In the upper right corner of the page is a button that says Browse local extensions. Click that button. If you don't see that button, make your browser window a little bigger because that button sometimes gets cut off on smaller screen/window sizes.
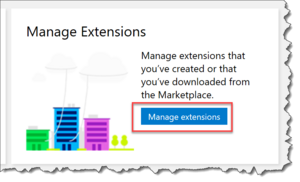
You'll be taken to a new page with a list of extensions...but this screen is mostly useless. Scroll down to the bottom of the page. At the bottom of the page, you'll see a box that says Manage Extensions. Inside that box, click the Manage extensions button.
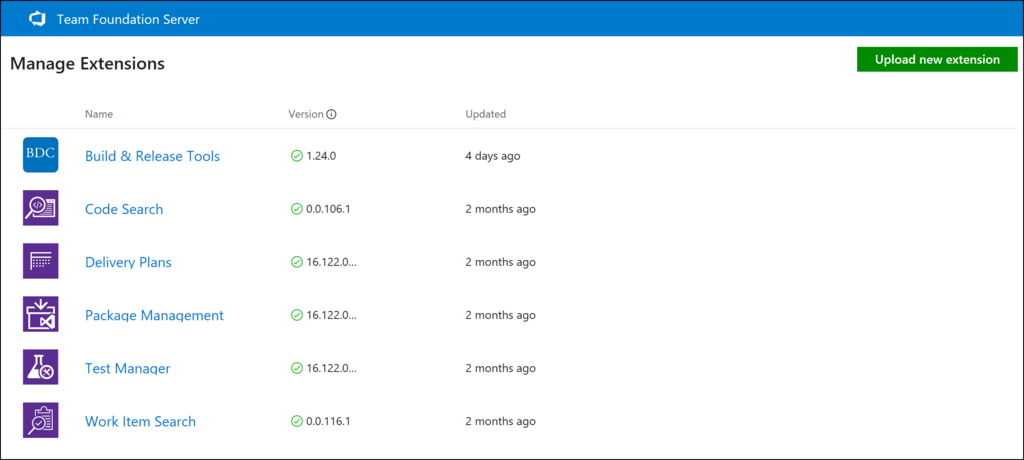
This is the Manage Extensions page. This is the really useful page. If you want to come here directly, here's the URL: http://:8080/tfs/_gallery/manage
If you want to upload an extension that you've created or that you've downloaded from marketplace.visualstudio.com, you can start by clicking on the Upload new extension button in the upper right of the screen.
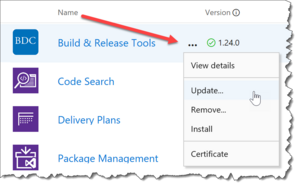
For any of the extensions in the list you can perform actions such as updating an existing extension or removing an existing extension. You can do this by hovering your mouse over the row for the extension and clicking the "..." button that will appear. That'll pop open a context menu with a bunch of different options.
I hope this helps.
-Ben
-- Need some help installing or customizing TFS? Want some coaching or training for how to actually use TFS at your company? Looking for someone to boost your DevOps, automated build / test /deploy, project management, and testing game? We an help. Drop us a line at info@benday.com.


